Monday, March 16, 2015

Blueberry "Cheese"cake Pie

In case you weren't aware, Saturday was the Ultimate Pi Day!

on
3.14.15
at
9:26:53am

we enjoyed this Blueberry "Cheese"cake Pie

pi = 3.14159265358979323846264338327950288419716939937510582097494459...

We were going out on a limb on this one.  We have a couple of recipes for cheesecake pies, and we have a ton of frozen blueberries.  That part was easy enough to figure.  But then we found out about the contest from So Delicious.  For every photo of an allergy-friendly pie uploaded to Instagram this past weekend with the tag #Pi4All, they will donate $3.14 to the Kids with Food Allergies Foundation.  They will also give one lucky winner $314.

So we decided, "heck, let's take our already-peanut-tree-nut-and-egg-free pie and make it even more allergy friendly."  So we went out and purchased Earth Balance "butter," Daiya "cream cheese," and Enjoy Life Sugar Cookies to crumble into a homemade crust. Which meant that our pie, which was already going to be an experiment, turned into quite a big experiment because we've never baked with dairy substitutes before (nor done much gluten free, either.)

The pre-baked pie is very pretty.  The baked pie turned into something of a disaster.  It still tasted good, but it certainly won't win any beauty contests.

I don't know whether this pie is fit to replicate, but I'm including the recipe for what I did anyway.  There are a lot of tweaks I will make before trying it again, and I'll mention them as we go along, so that if you decide to try making our pie, you might have a leg up on making it just a little better.

Our Peanut Allergy Slap Bands are available now!!
Click here!
The following recipe was free of the big 8 except for soy.  If I'd known at the time that I'd need "butter," I would have purchased the soy-free Earth Balance sticks while I had them in front of me.  I didn't know, though, and didn't feel like going all the way across town to get them, so I stuck with regular Earth Balance spread, which has soy.

Sugar Cookie Pie Crust

Ingredients
  • 1 1/2 cups Enjoy Life Sugar Crisp cookies, finely ground
  • 1/3 cup white sugar
  • 7 Tbsp Earth Balance, melted
Directions

Crush or chop the sugar cookies in a food processor, a closed plastic bag with a rolling pin, or a pampered chef chopper until you have fine crumbs.

I had to use all but 2 of the cookies in the box in order to reach 1 1/2 cups.

Melt your Earth Balance on the stove or in the microwave.

Gently mix the cookie crumbs, sugar, and melted Earth Balance until well blended.

Press mixture into a pie plate.

Bake at 375 degrees for 7 minutes.

7 Tbsp of Earth Balance was probably too much for this, it was pretty wet.  And after baking, it had all slid down the sides of the pan to the bottom, and was VERY greasy. I used a spoon to lift the crust up the sides of the pan again and press it into place, which I was only able to do when it was still greasy and fresh out of the oven.  It set up after a few minutes at room temperature.  After I finished reshaping it, I took a paper towel and sopped up some of the extra grease that was pooling on the top.  If I were to repeat this, I would use 6 or even 5 Tbsp of Earth Balance.  I might still have to reshape it fresh out of the oven, though.

Blueberry "Cheese"cake Pie Filling

Ingredients
  • 2 Tbsp ground flax
  • 9 Tbsp water, divided
  • 4 1/2 cups of blueberries, divided
  • 1 1/2 cups of sugar, divided
  • 1 1/2 packages (8oz each) plain daiya cream cheese style spread
  • 1 tsp lemon juice
  • 1/2 tsp allergy-safe vanilla
  • 3 Tbsp cornstarch
  • 1 tsp lemon rind, grated
  • 1/2 tsp cinnamon
  • 1/4 tsp nutmeg
  • 2 Tbsp Earth Balance
Start by mixing the ground flax with 6 Tbsp water and setting the mixture aside, allowing it to thicken.

Combine 1 1/2 cups of blueberries and 3/4 cup sugar in a pan.  Simmer on low or medium-low heat until sugar is melted and mixture is very liquid.  This should take about 5 minutes with fresh berries; mine took longer because they were frozen.

Place the daiya cream cheese style spread in a large bowl.  Carefully pour the blueberry mixture into a wire strainer over the bowl of daiya, a little bit at a time, allowing the blueberry syrup to pass through the strainer but keeping the blueberries out.

Add another cup of blueberries and another 1/2 cup of sugar to the pan, and repeat the process above, allowing the blueberry mixture to dissolve and become liquidy.

Once the blueberry mixture reaches this consistency for the second time, combine the cornstarch and remaining 3 Tbsp water in a small bowl.  Add to the pan with the blueberries, and cook over medium heat until the mixture comes to a full boil and is clear and thick.

Meanwhile, add lemon juice, vanilla, and remaining 1/4 cup of sugar to the daiya and blueberry syrup mixture.

Beat together until fluffy.

Add the flax mixture and beat until just combined.

Spread into the pie crust.  I had a little bit left over with my 9 inch pie pan, so I put the rest into my muffin tin.

By now, the blueberry mixture should be fully cooked.  Remove it to a bowl and allow to cool somewhat.

Fold in remaining 2 cups of blueberries, along with the lemon rind, cinnamon, nutmeg, and Earth Balance.

Top the pie with blueberry topping.

I also reserved a little raw crust mixture to make this pi symbol on the top.

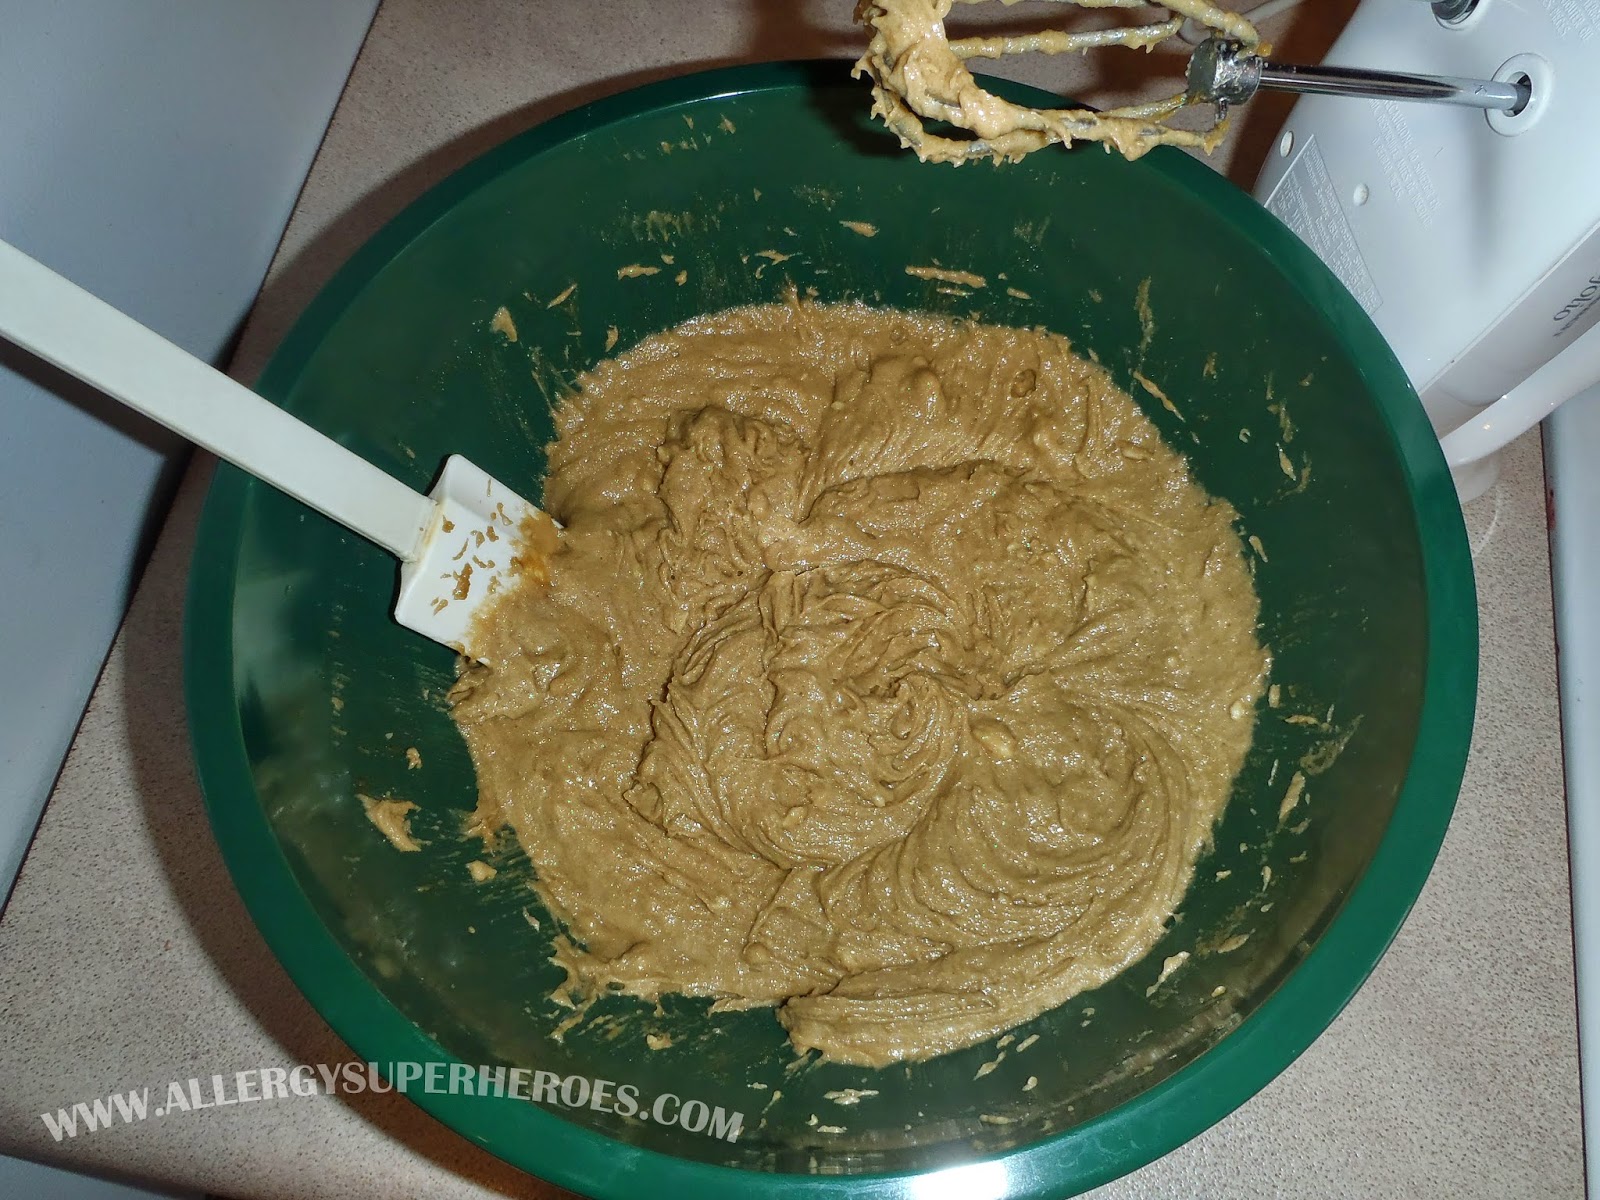
This is where I think I went wrong. The blueberry topping did not stay on top of the "cheese" mixture, it sank and they all mixed together (not to mention boiled over) as you can see in this oven picture.  Since the blueberry topping is already cooked, I would leave this off were I to do it again, and just add the topping to the cooked "cheese"cake pie.


Regardless of looks, this experimental pie tasted quite good. I expect that we'll try it again sometime, with the tweaks I mentioned above, in the hopes of making a pie that is pleasing to the eye as well as pleasing to the taste buds.

Did you celebrate Pi Day?  What kind of pie did you make?

Monday, March 9, 2015

Sunbutter and Jelly Cookie Bars


Even though I grew up with a severe tree nut allergy, that didn't mean that I couldn't enjoy peanuts.  And I did enjoy peanuts!  Perhaps not as much as my husband, but I routinely enjoyed lots of peanut products.

Back in the days when hubby and I ate peanuts without a second thought, my mom gave us a recipe for peanut butter and jelly cookies.  I haven't made it in years, of course--I'm not about to make peanut protein airborne in our house.  I pulled the recipe out a little while back though, with the intention of converting it to Sunbutter.

Don't forget that our Peanut Allergy Slap
Bands are available now!!  Click here!
This proved to be more difficult than I'd anticipated.  I'd forgotten, but the original recipe relied heavily on prepackaged cookie doughs and frostings--things I've been leaning away from even when they are allergy safe.  I'm a bit of a cookie snob, even before I had to bake egg-free, so scratch cookies are the way to go!

It took some experimenting and learning from mistakes, but I finally figured out a great combination that mimics the original cookie but with an allergy-safe twist!

Sunbutter and Jelly Cookie Bars

Cookie Ingredients

  • 1/2 cup granulated sugar
  • 1/2 cup packed brown sugar
  • 1/2 cup creamy Sunbutter
  • 1/2 cup butter or margarine, softened
  • 1 Tbsp water
  • 3 Tbsp vegetable oil (I use canola)
  • 2 Tbsp ground flax
  • 3/8 cup (or 6 Tbsp) water
  • 1 1/4 cups all-purpose flour
  • 3/4 tsp baking soda
  • 1/2 tsp baking powder (corn-free variety, if needed)
  • 1/4 tsp salt

Directions
In a small bowl, mix the ground flax with 3/8 cup (6 Tbsp) water.  Allow to sit for a few minutes.  (If you aren't egg-free, this is to mimic 2 eggs.)

Mix the flour, baking soda, baking powder, and salt in a medium bowl.  Set aside.

In a large bowl, mix sugars, sunbutter, butter, remaining 1 Tbsp water, vegetable oil, and flax mixture.

Gradually add the dry ingredients.

Grease or spray the bottom of a 9x13 pan.  Press the dough into the the pan, being sure to spread it evenly.

Bake at 350 degrees for 15-18 minutes, until the edges are light brown.

Cool completely.


Topping Ingredients

  • One batch (roughly 1 lb) of your favorite allergy-friendly frosting.  I used a 3/4 batch of my Cream Cheese frosting.  You can even use a can of store-bought frosting if you like.
  • 1/4 cup creamy Sunbuter
  • 1 Tbsp milk *optional*   If you're using a store-bought frosting or your homemade batch is particularly stiff, add 1 Tbsp milk to offset the thickness of the Sunbutter*
  • 1/4 cup strawberry jam

Directions

In a bowl, stir frosting, *milk*, and Sunbutter until well blended.

Spread over cooled cookie base.

Place jam in a bowl and stir to break up lumps.  Drop by spoonfuls over frosting.

Swirl jam for a marbled design with the tip of a knife.  Refrigerate for 20 minutes or until frosting is set.

Enjoy!  We sure did!


Linking up at Allergy Free Wednesdays and Corn-free Everyday
  realfoodallergyfree

Wednesday, March 4, 2015

Allergy Study

Zax and I participated in a food allergy research study last week!


As studies go, it was quite simple. We gave some preliminary medical history over the phone so the doctor could decide if he wanted our blood.  Once he decided that he did, we came in. From there, it was a simple questionnaire about our allergic history and a blood draw.  Easy Peezy!

Our Peanut Allergy Slap Bands are available now!!
Click here!
Zax has never been all that good with needles, so I started prepping him a few days before.  I told him that the study doctor wanted to try to figure out why people have allergies, and since we do, our blood can help him figure that out.  I also told him that maybe someday the information the doctor learns from our blood might help find a cure. Zax needed the word "cure" defined, and as soon as I finished doing that he exclaimed "I want that!"  This still makes me smile.


We had to do our blood draws in different places.  The study was through the University of Colorado Anschutz Medical Campus, but they only draw blood for people 12 and up there.  The study accepts kids as young as 6 with peanut or tree nut allergies (Kal is still too young to participate) so they shuttled us over to Children's Hospital for that.


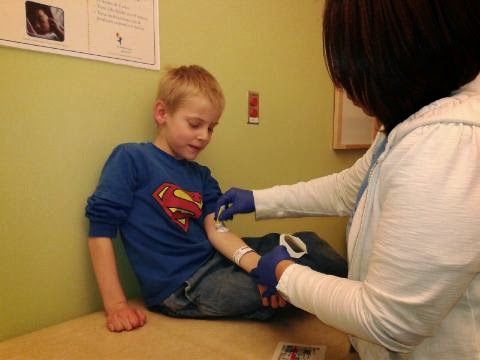
I went first because I wanted Zax, who again isn't very good with needles, to see what was in store. He watched the tech take my blood and took these pictures of the process.


Once we got over to Children's, they gave Zax some numbing cream on the crook of his elbows--both sides, just in case they had trouble with the first side.

I was anticipating having to help hold him still because of how he's been with shots, but he did GREAT! I held his hand while the nurse put the actual needle into him, but after that he allowed me to let go so I could take pictures of him.

I came over to rub his back a few times, but he was absolutely fine.  The only thing he complained about was the tightness of the tourniquet.  I was so proud of my little superhero! I don't know if it was the early prep, the numbing cream, the fact that he knew he was helping people and trying to find a cure, or just that he's getting older, but this is definitely the best that I've ever seen him around needles.  I love my brave kid!

We were very happy to help contribute to this!  Have you ever participated in a research study?


As a matter of fact, this study is still looking for participants.  They have enough controls (non-allergy people) but if you're in Colorado and have a peanut or tree nut allergy, or know anybody who fits that criteria, I hope you will consider participating!

Here's the info, if you are interested:


PEANUT AND TREE-NUT ALLERGY RESEARCH STUDY
Blood Samples for the Study of Peanut, Tree Nut and
Other Food Allergies
COMIRB # 13-2102

We are seeking adults and children who are allergic to
peanuts and/or tree-nuts to donate blood. And
individuals with no known food allergies.

Description: The purpose of this study is to determine how the body’s
immune system interacts with nuts and other foods to cause allergic
reaction.

To be eligible, you must be:

1. 6-75 years of age
2. Have a diagnosis of peanut and/or tree-nut allergy made by either skin
tests or blood tests.
3. Have no known peanut and/or tree-nut allergy.

Participation will include:

1. Donation of a small amount of blood

Financial compensation will be provided after participation in the study.

For information, please call
Spodra Eglite study coordinator
303-724-7193
Principal Investigator: Stephen Dreskin, M.D., Ph.D.
Co-Principal Investigator: Dan Atkins, M.D.

Monday, March 2, 2015

The Best Chocolate Cake


This is a very old cake recipe.  It goes back to the depression era when eggs, butter, and milk were both expensive and rationed, so some genius (who is lost in the annals of history) developed this cake.  I've seen it referred to online as the "Wacky Cake" and the "Less Mess Chocolate Cake" (in which the recipe suggests you mix it all in the cake pan.  I forego this in favor of lining my cake pan to get it out easier.)

I got this recipe from my cousin, who remembered it from an American Girl Cookbook from her childhood (no doubt the American Girl character was from the depression era.) It's a great cake, and one of our favorites.  The batter is runnier than most cakes, and the resulting cake is a little denser, but unless you're comparing cakes side-by-side, it's unlikely that anyone will notice.  In fact, I like the denser texture because I like to sculpt my kids' cakes into fun shapes, and this holds up better than most egg-free cakes.

It's also great for party guests with allergies because it's free of 7 of the top 8 allergens (depending on what oil you use) and is also free of corn (depending on what oil, vanilla, and vinegar you use (substitute something else for white vinegar if you have a severe corn allergy.))  I've even made it with gluten free flour with reasonable results, which would make it free of the top 8!

This cake has been cut to shape for one of my son's
birthday parties.  This is the only un-frosted cake picture I have.

The Best Chocolate Cake

Ingredients:

  • 1 1/2 cups flour (can be gf flour)
  • 1 cup sugar
  • 3 heaping Tbsp unsweetened cocoa powder
  • 1 tsp baking soda
  • 1/2 tsp salt
  • 6 Tbsp vegetable oil (I use canola)
  • 1 Tbsp white vinegar
  • 1 tsp vanilla
  • 1 cup cold water

Our Peanut Allergy Slap Bands are available now!!
Click here!
Directions:
(I apologize for not having step-by-step pictures this time, or even a good picture of an unfrosted cake. I haven't made this in a while, and won't need to make more cakes until at least April, and I didn't take pictures each step of the way before I started blogging recipes.)
  1. Heat oven to 350 degrees.  Line an 8 or 9 inch cake pan with parchment paper.
  2. In a medium bowl, whisk together the flour, sugar, cocoa powder, baking soda, and salt until thoroughly combined.
  3. Make three wells in the dry mixture.  Pour the oil into one, the vinegar into another and the vanilla into the third.
  4. Pour the cold water over all and mix until thoroughly combined.
  5. Pour the batter into the lined cake pan.
  6. Bake for 35-40 minutes, or until a toothpick inserted in the middle of the cake comes out clean.
  7. Remove from the oven and allow to cool somewhat.
  8. Run a knife between the outer edge of the cake and the pan.  Turn upside down onto a serving plate.  Remove the parchment paper and allow to cool completely before frosting with your favorite allergy-friendly frosting

This recipe makes one 8 or 9 inch round, or roughly one dozen cupcakes.  Double it for a 9x13.

I quadrupled the recipe for this Preschool Graduation cake.  It
is two 9x13 cakes put together.

In another week or two I'll share more of the themed cakes I've made with this.  For now, enjoy!

How do you like your cake?

Linking up at Allergy Free Wednesdays, Gluten Free Fridays, and Corn-free Everyday
realfoodallergyfree